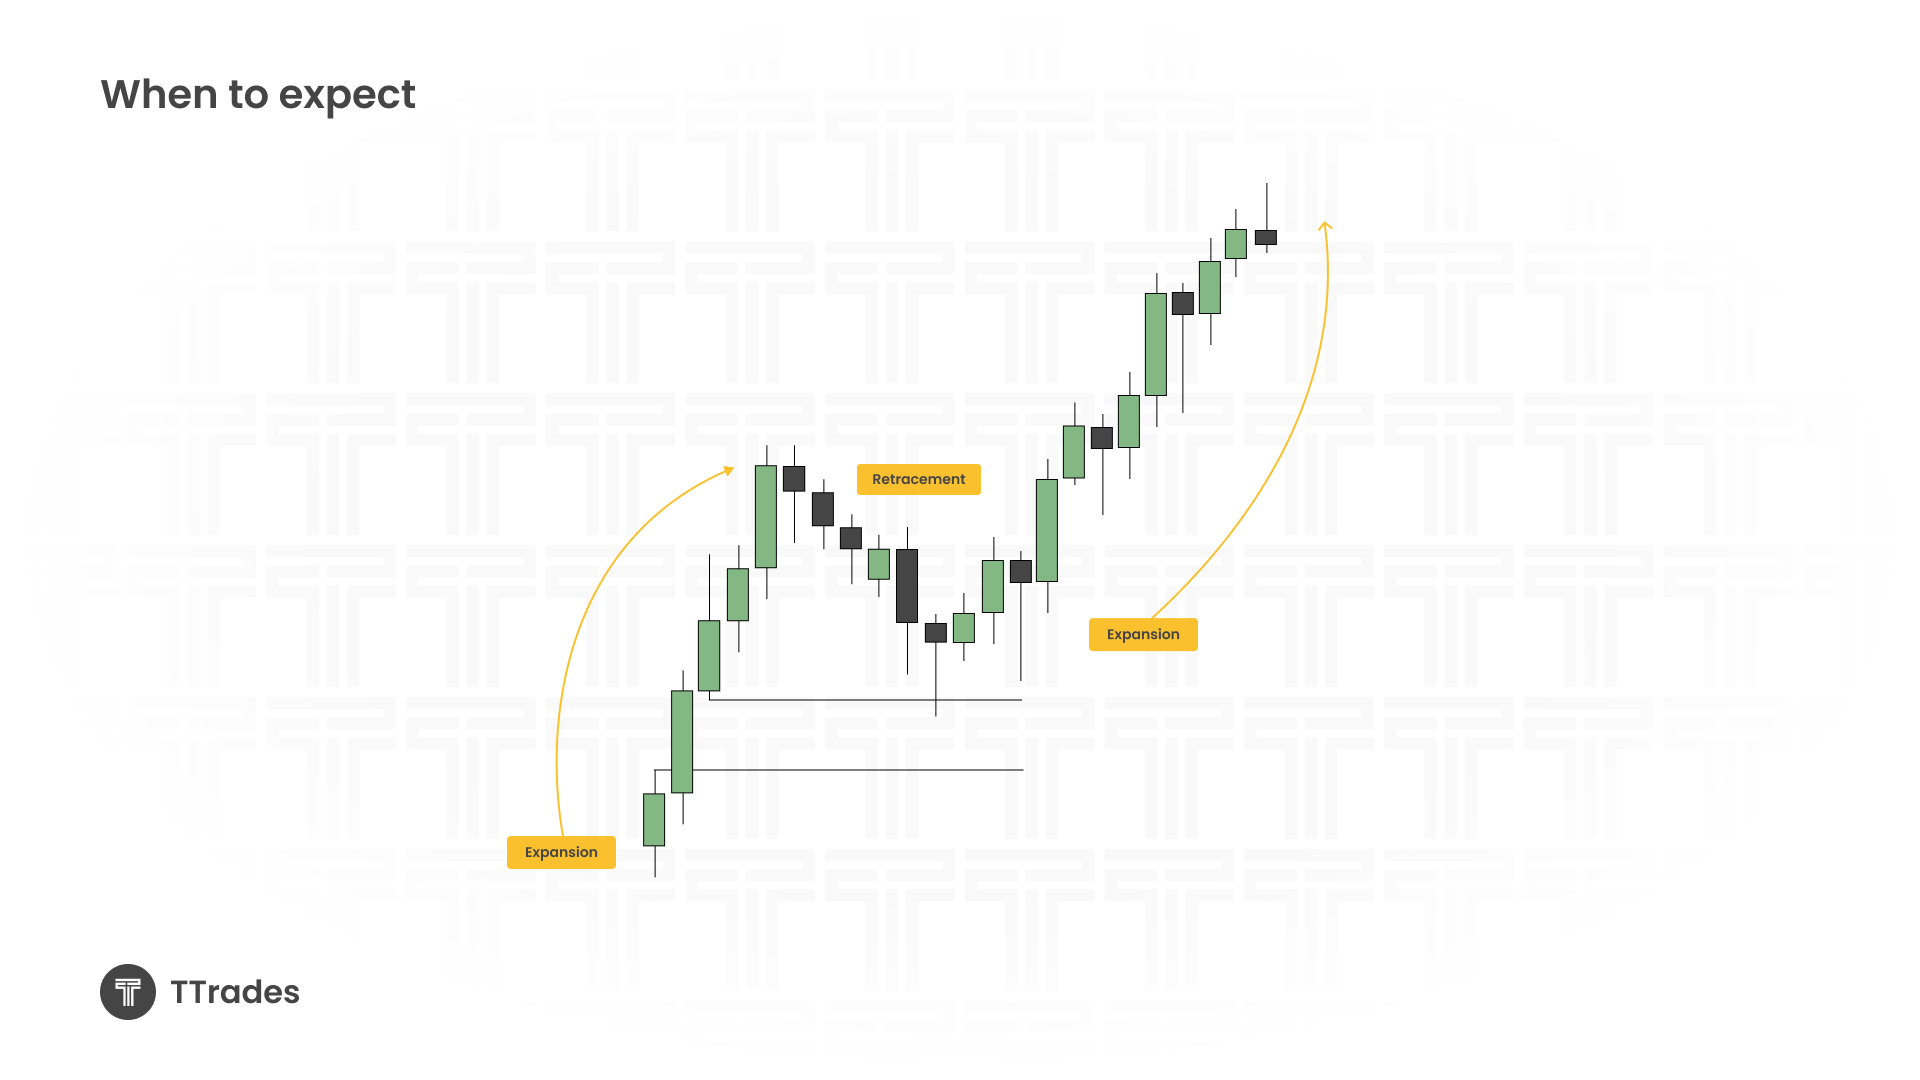

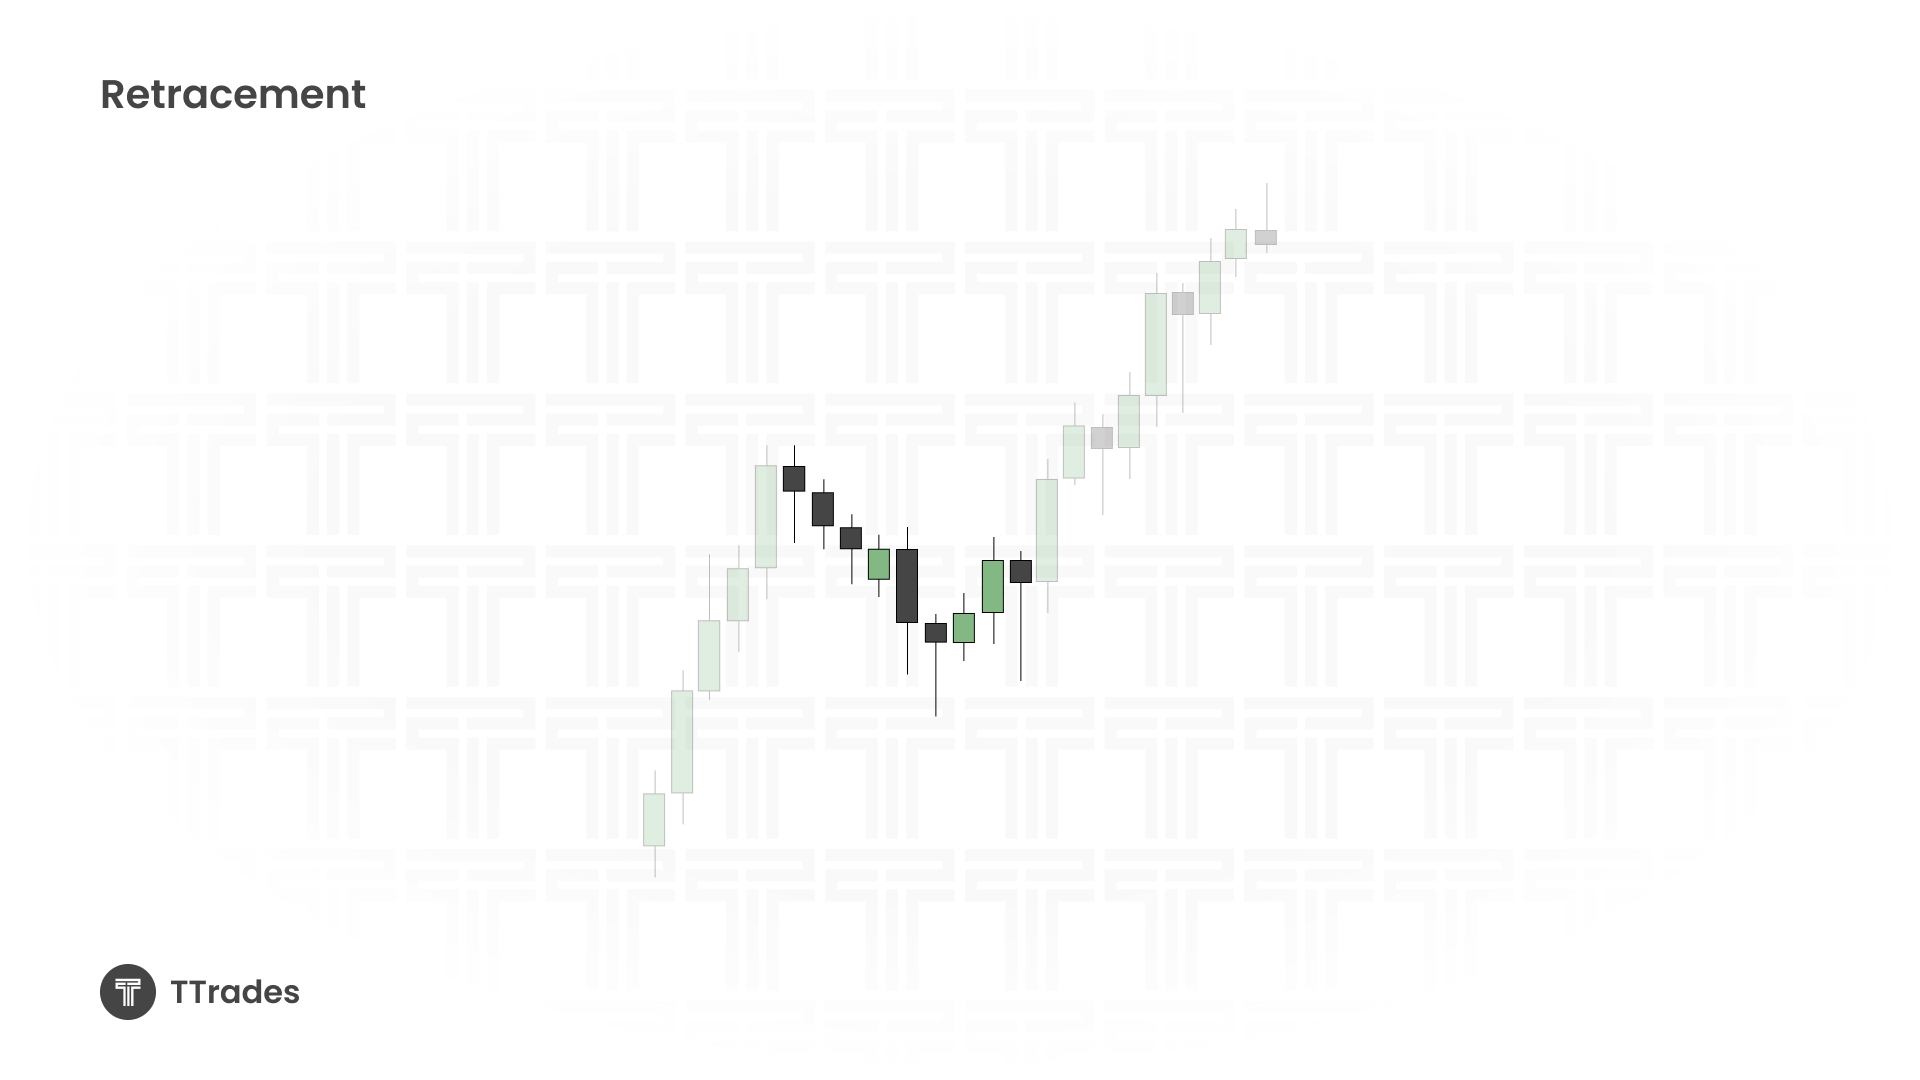
Retracements are not random. They often:
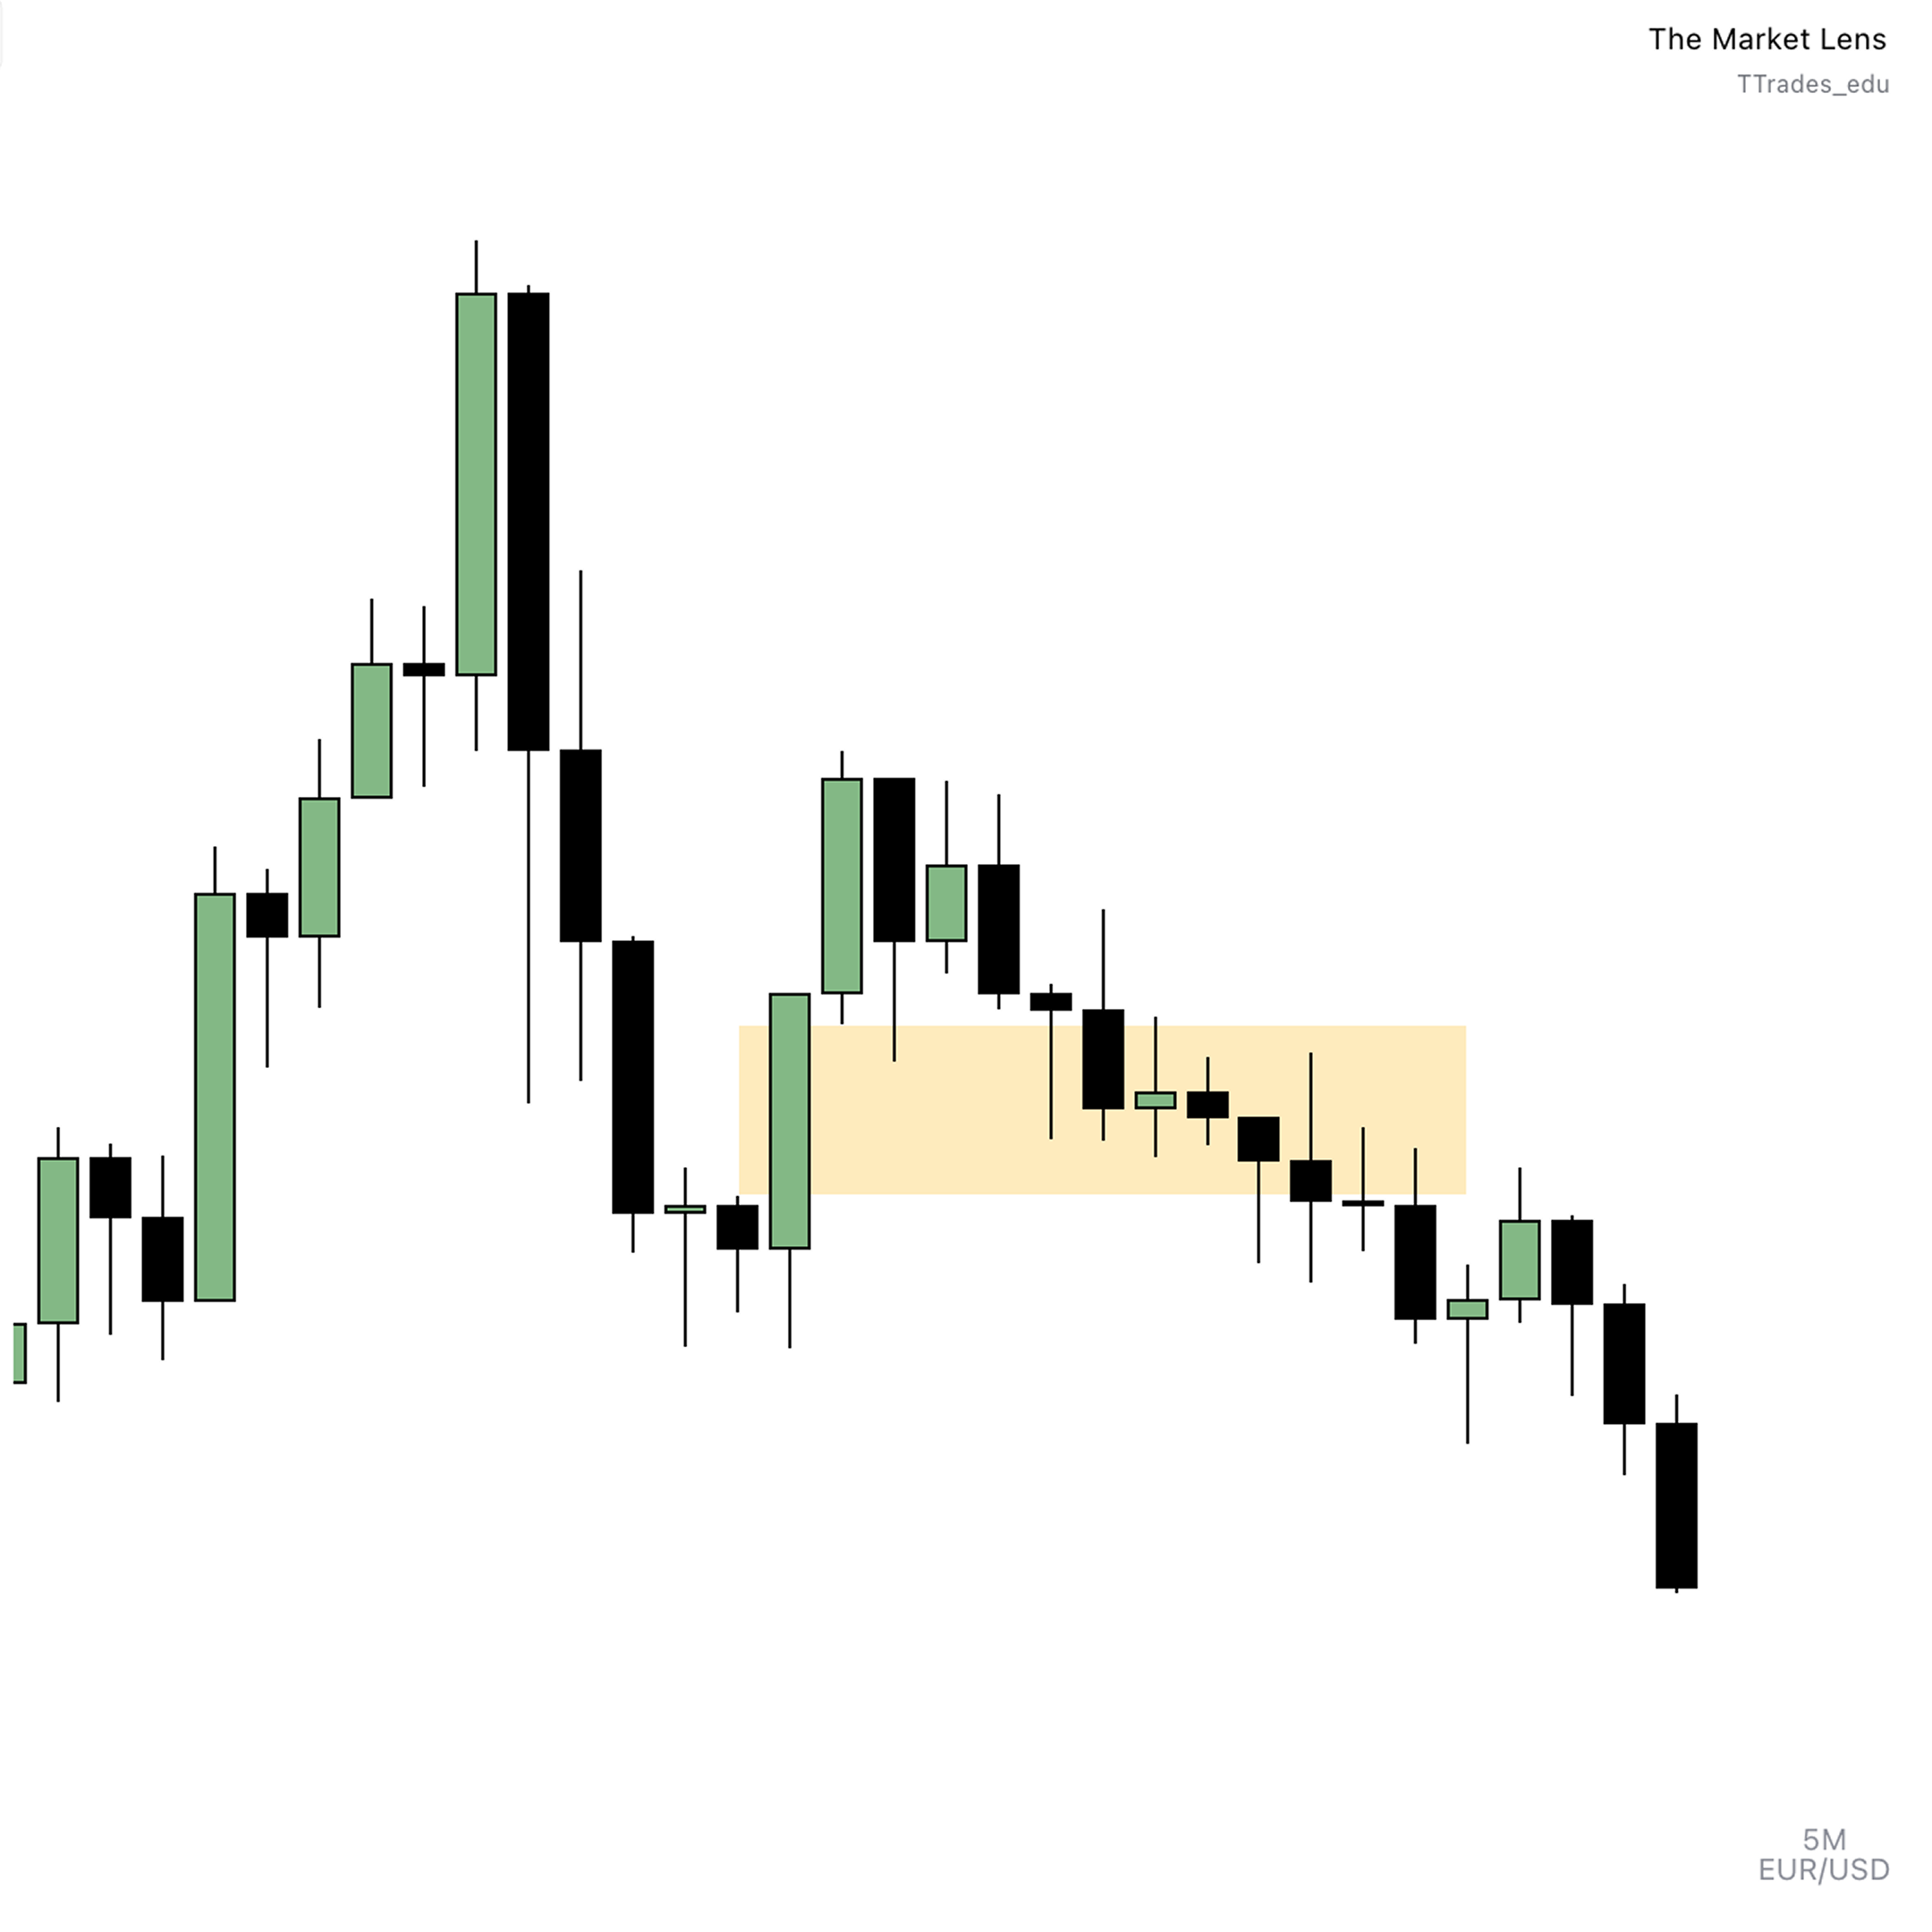
 Pro Tip: A retracement that’s too deep risks becoming a reversal. Shallow, controlled pullbacks are what you want to see.
- Form after a strong expansion.
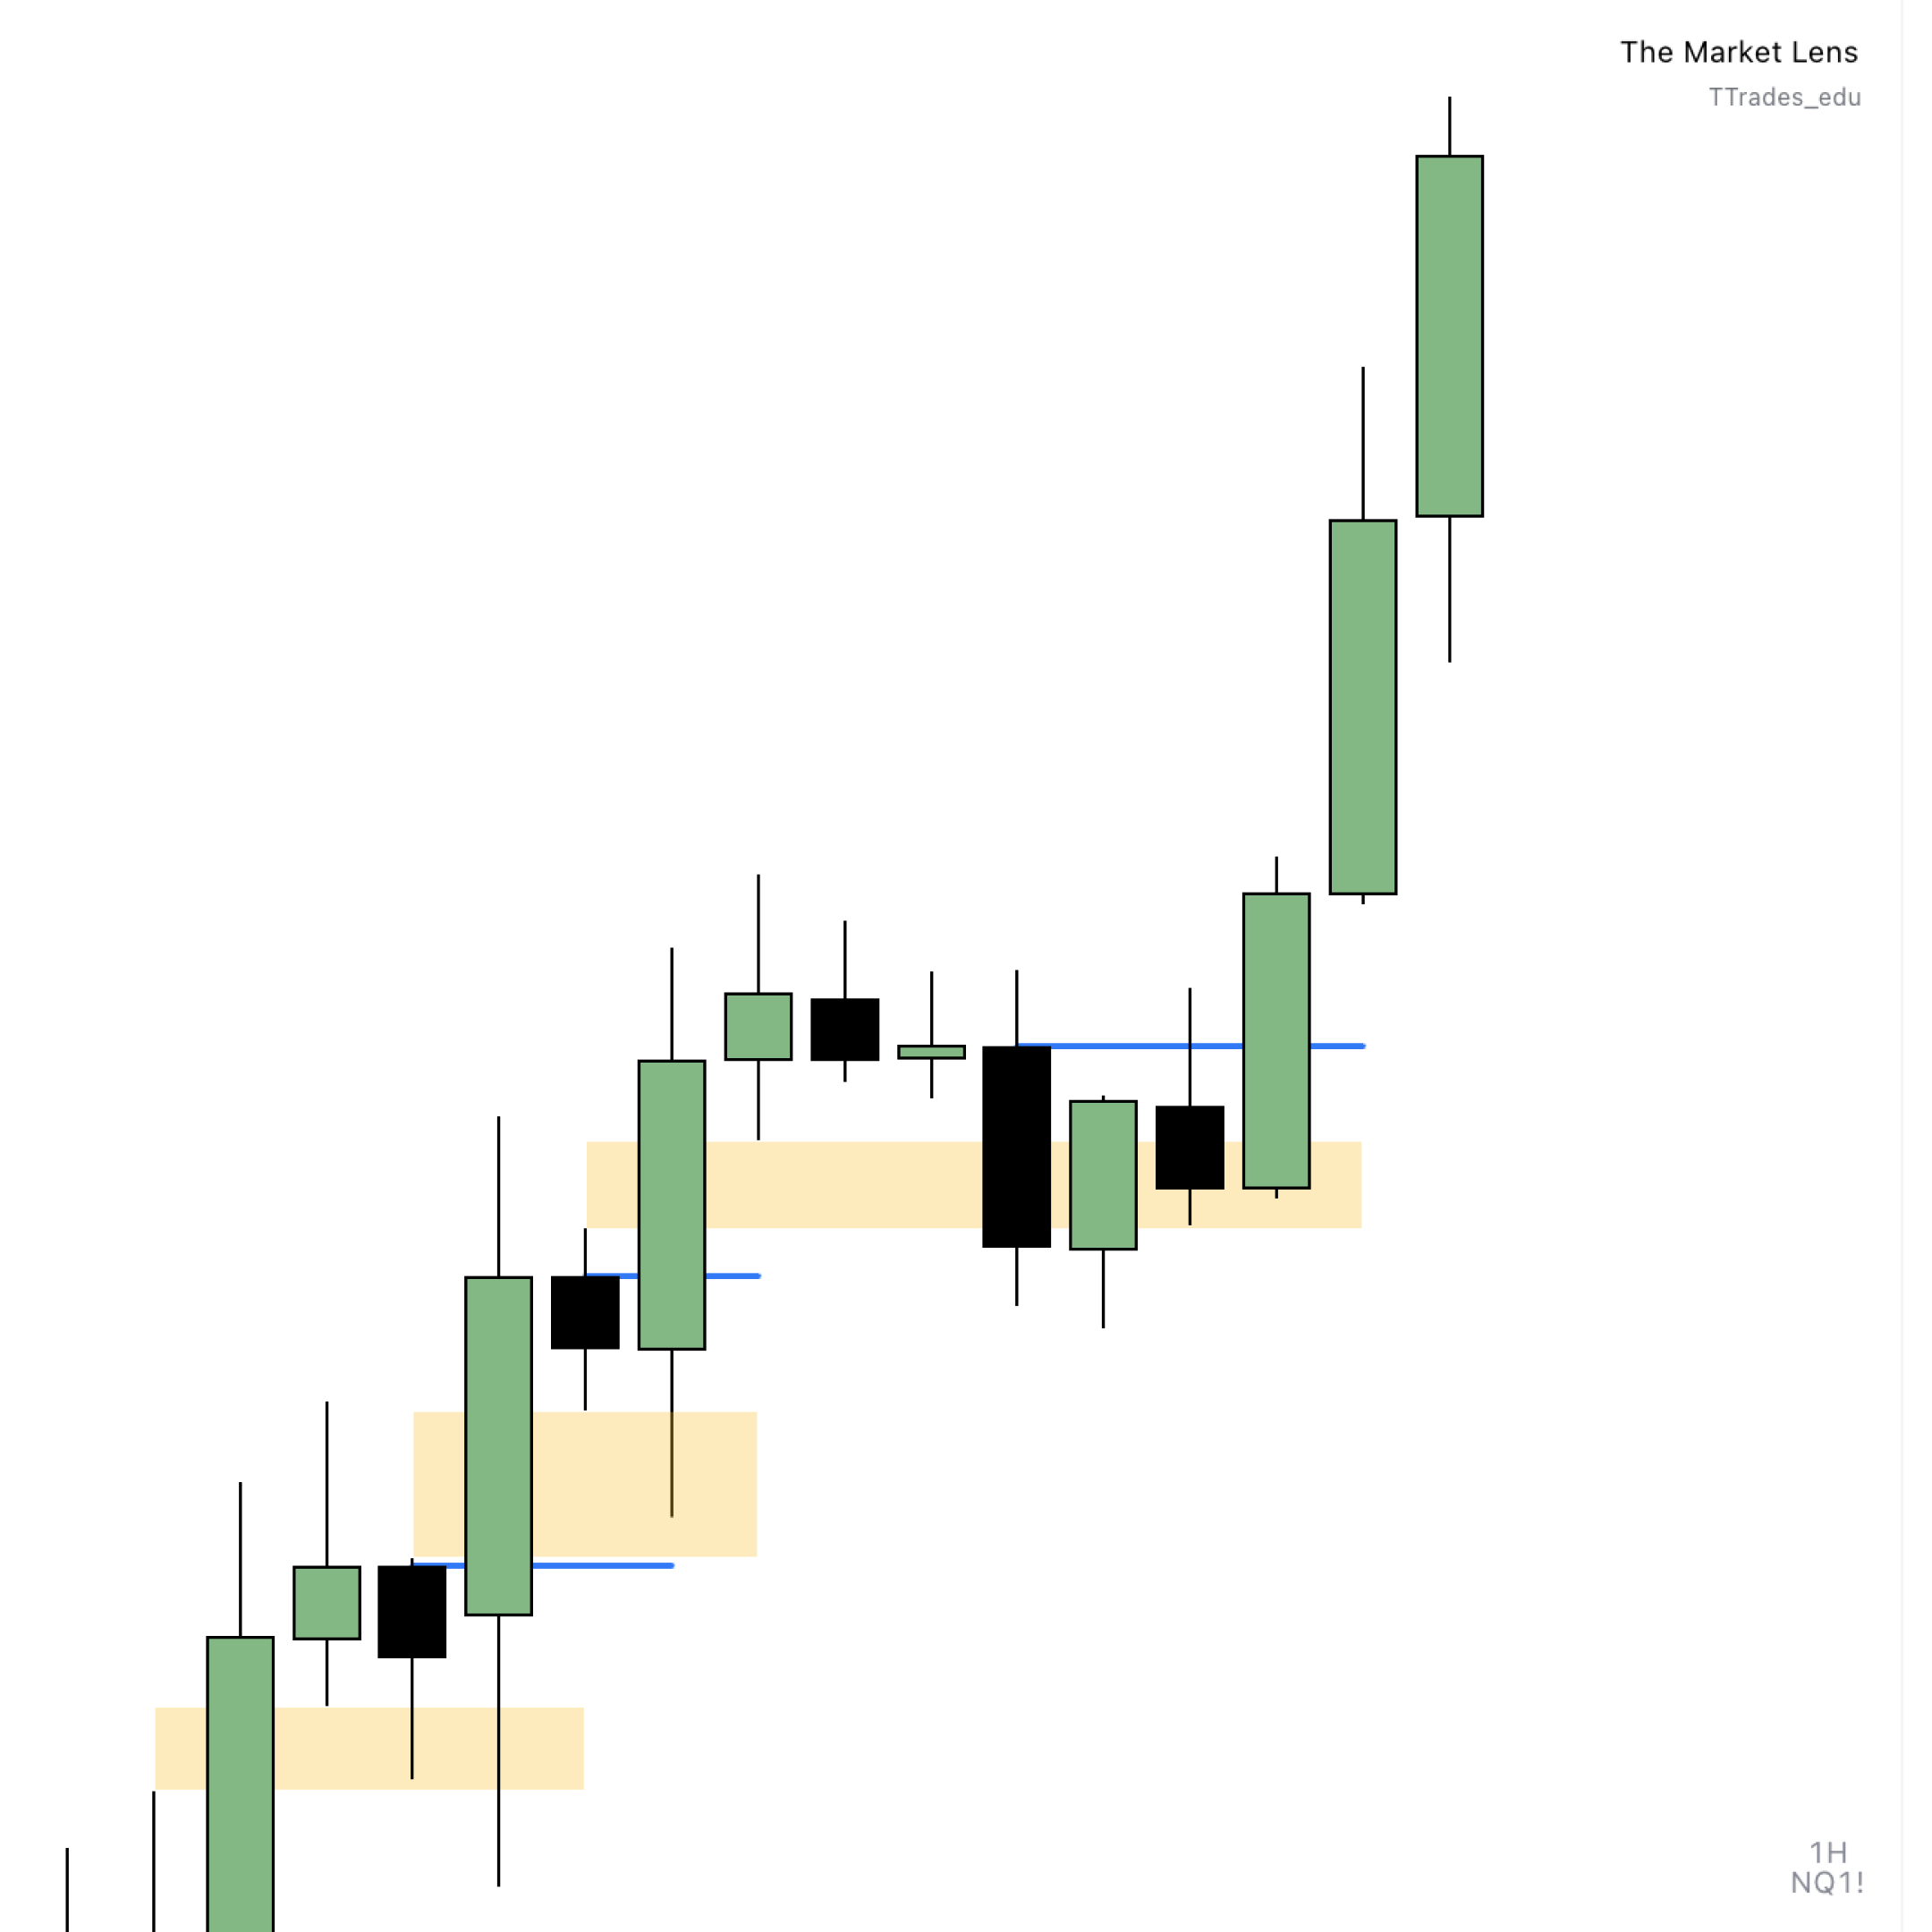
- Pull back into a PD array, often a fair value gap (FVG).
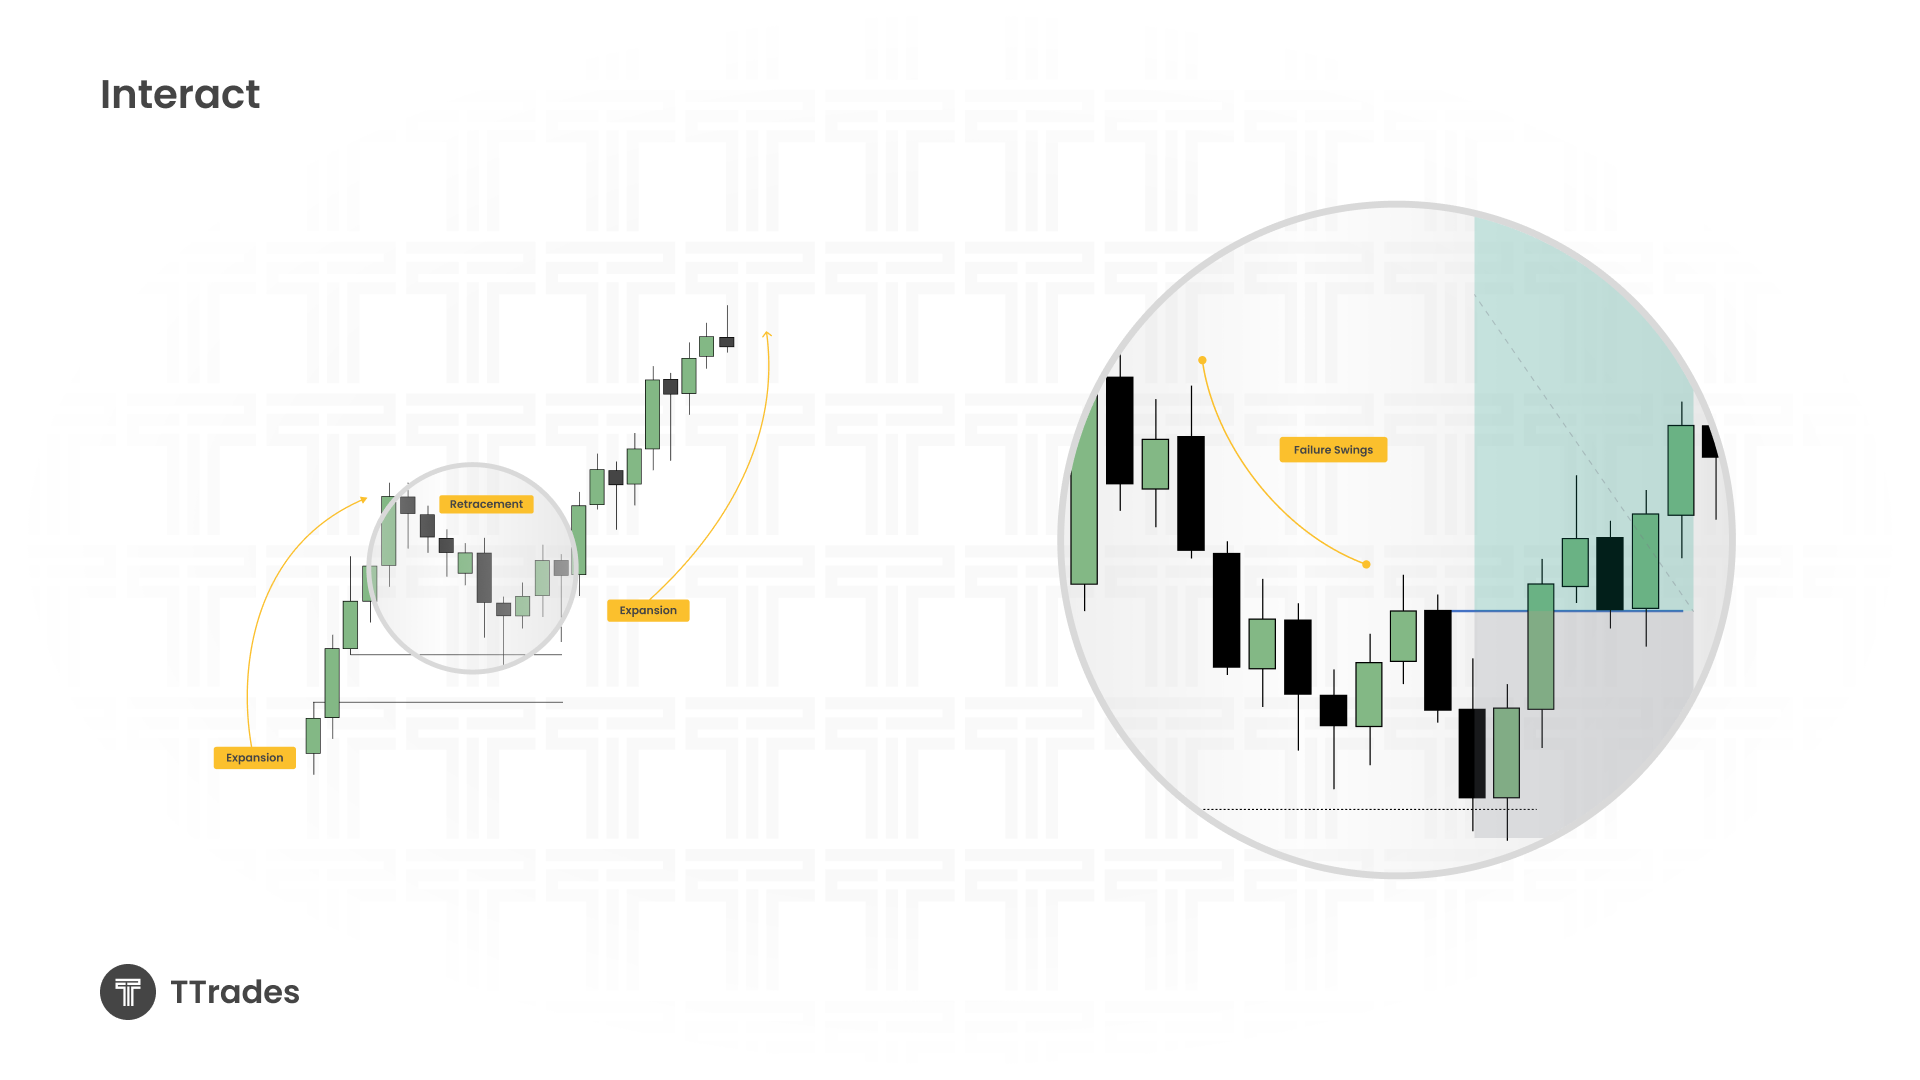
- Show failure swings at highs in a bullish retracement or lows in a bearish retracement.
- Respect structure without breaking the protected swing that confirms the trend.
Pro Tip: A retracement that’s too deep risks becoming a reversal. Shallow, controlled pullbacks are what you want to see.